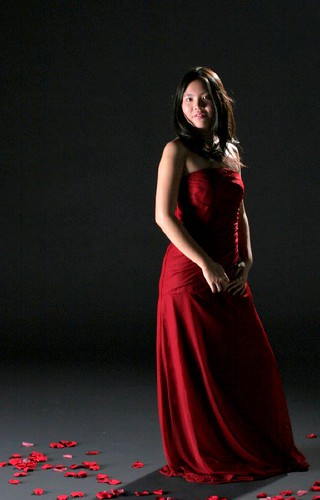
One – When shooting in a studio with a strobe light, shoot with a long lens (like a 70-200, towards the end of the focal length) in manual mode. Start at a shutter speed of 1/125, ISO at 100, and the aperture at f/11.0. Tweak slightly from there if necessary. When shooting in continuous light, use aperture priority mode at about f/11 with an ISO 400. Use a tripod, and auto focus using the subject’s eyes as the focus point.
Two – When shooting portraits outdoors, start with the “sunny f/16” rule of thumb (ISO 200, shutter speed 1/200 to 1/250, aperture f/16). Prevent harsh shadows on the face by avoiding light that comes from directly overhead (like the sun). Find some shade and use a reflector to bounce light up into the face if necessary. You’ll be surprised at how well even the most indirect ambient light reflects.
Three – Take continuous shots. Put your camera in continuous shooting mode and shoot in short bursts to capture a series of shots, thereby increasing the likelihood that the shot will be in focus, composed correctly, the subject won’t be blinking, etc. This works especially well for children who have a hard time being still for extended periods of time.
Four – If you are uncertain about the specific exposure settings required for your conditions, shoot in bracketed mode. In bracketed shooting mode, the camera will take a succession of shots with the first shot being the baseline point that the camera reads for correct exposure (or that you manually set). The second shot will stop down from that exposure point according to how you set it up (for example, bracketing with a half-stop, 3/4 of a stop, or a full stop) and the third shot will stop up from that baselined exposure point. In this manner you can capture three exposure samples and use the one that is the most successful. Use this in tandem with continuous shooting mode so that it won’t be necessary to press the shutter button three times in order to capture the three exposures.
Five – Shoot in aperture priority mode. Most often you will have a clear idea of the depth of field that you desire in your shot – a lower aperture number for more background blurring (or bokeh), and a higher aperture number to have more of the subject and background in focus. Shooting in aperture priority mode will allow the camera to choose the correct shutter speed for the lighting conditions.
Photo credit: Alex Dang on Flickr Creative Commons

