Taking photos in low light takes some practise to perfect, we have put together a great guide to help you master the art of low light photograph. Tips for taking low lights shots, low light cameras and equipment, and even a infographic on low light photography tips to bring it all together. We hope you enjoy.
Underexposed photographs can be salvaged using post-processing software. If you’re shooting in RAW format, even more post-processing capabilities are available to you. Sometimes it’s beneficial to purposefully underexpose a shot, especially if you’re shooting hand-held in dim lighting situations. It’s better to get a shot that’s a bit underexposed but salvageable, rather than a properly exposed but blurry photograph.
For the purposes of this discussion, I will be editing a photo using Adobe Bridge, Camera Raw 6.3 and Photoshop CS5. However, many of the features and basic steps are applicable in other programs.
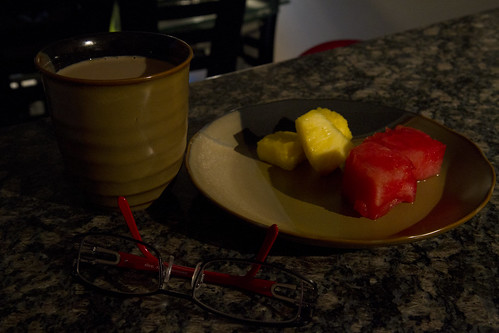
First, here is the (purposefully) underexposed shot, a still life of my morning:
This photo was shot in RAW format, so when it is opened from Adobe Bridge, it brings up the Camera Raw (6.3) panel:

The first thing I usually do is click on “Auto” to see what settings Camera Raw would recommend for this photograph:

As you can see, the “Auto” settings may not be appropriate for this shot. The increased exposure and brightness blew out portions of the image. To undo the automated settings, simply click on “Default” to bring the settings back to where they originally were. Now play with the various sliders, primarily “Exposure”, “Recovery”, “Fill Light”, “Blacks”, “Brightness”, and “Contrast” to achieve the desired appearance. As each slider is moved, a preview of the changes can be seen.

Once the desired appearance is achieved, click on “Open Image” to open the image in Photoshop. If no more adjustments are needed, save the file as a JPEG. In this case, some noise reduction and sharpening was in order. Here is the final image:
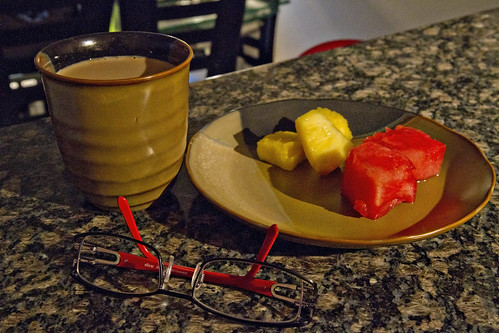
Quite a difference from the original, and the adjustments only took me approximately two minutes!
In a future article we will discuss fixing JPEG photos using adjustment layers in Photoshop.
Photo credits: Tiffany Joyce